DSCT Series
Isolated DIN Rail Mount 2-Wire Transmitters
DSCT TRANSMITTERS
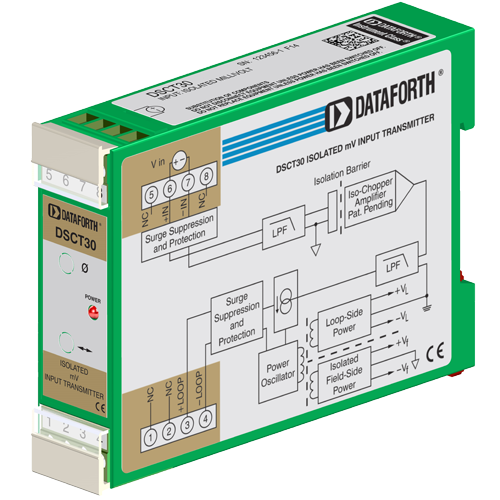
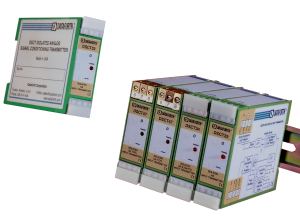
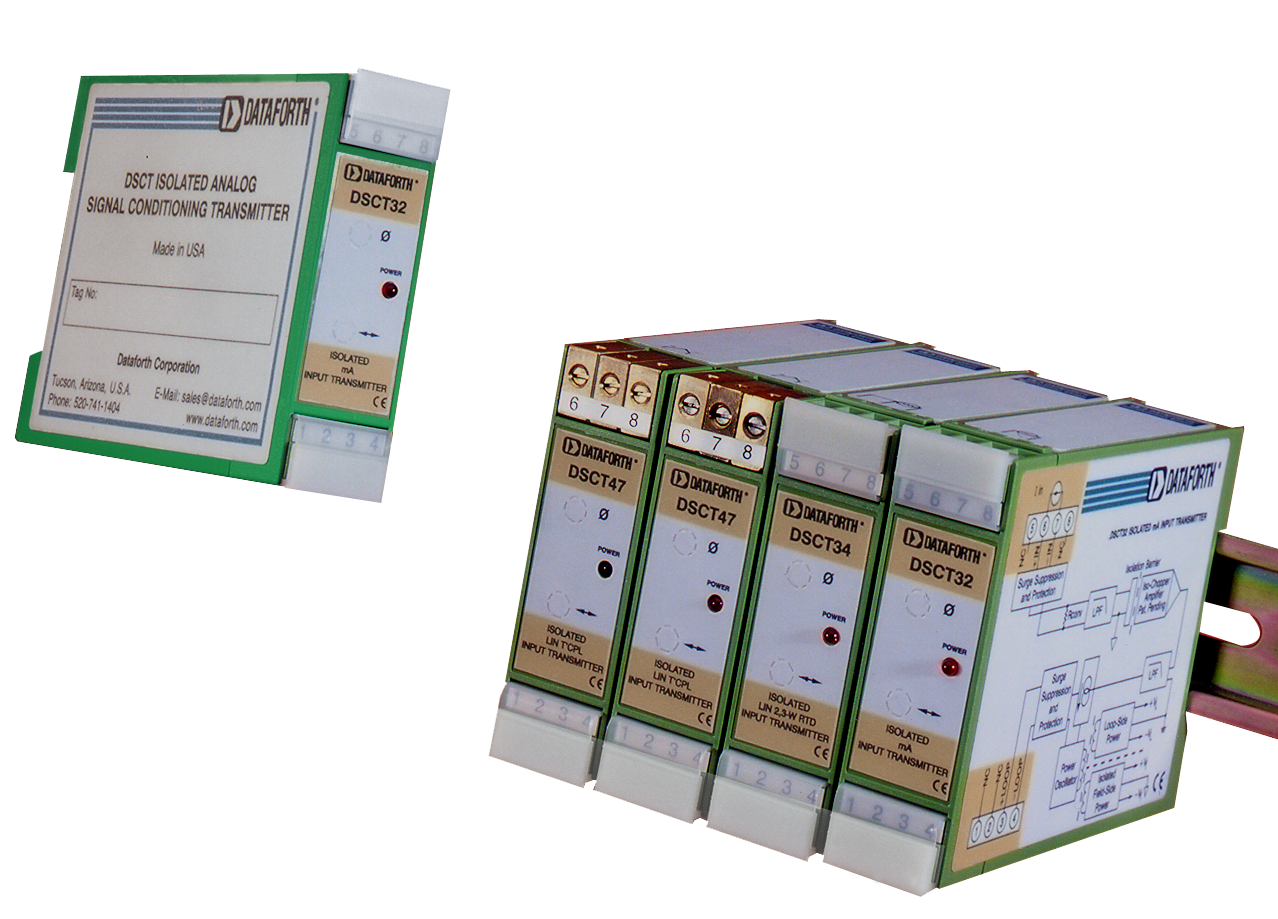
Dataforth's DSCT series of loop powered 2-wire transmitters consists of seven family groups with a total of 48 transmitter models that interface to a wide variety of voltage, current, temperature and position measuring devices.
- DSCT 2-wire transmitters condition and send analog signals from sensors located in the field to monitoring and control equipment, usually computers, located thousands of feet away in central control areas
- They accept a wide range of inputs, including millivolt, volt, milliamp, thermocouple, RTD, potentiometer, and slide wire
- They operate on power from a 2-wire signal loop and modulate the supply current to represent the input signal within a 4 to 20mA range
CUSTOM SIGNAL CONDITIONING
Custom modules are available: consult factory for minimum quantity and pricing details on custom input ranges, output ranges, bandwidth, and other key parameters.
Certifications
Documents
3D CAD Models
Product Availability
Usually stock to 2-3 weeks
Dimensions & Accessories
Features
- ±0.03% Accuracy (Typical)
- ±0.01% Linearity
- 1500Vrms Transformer Isolation & 240Vrms Field-side Protection
- ANSI/IEEE C37.90.1 Transient Protection
- Wide Loop Supply Voltage, 10.8V to 60V
- 5-Pole Low-Pass Filtering
- Up to 160dB CMR
- 85dB NMR at 60Hz, 80dB at 50Hz
- Protected Against Reverse Connection of Loop Voltage
- -40°C to +80°C Operating Temperature
- Mounts on DIN Rail EN 50022, 35x7.5 or 35x15
- CSA C/US Certified (Class I, Division 2, Groups A, B, C, D)
- CE Compliant
- Manufactured per RoHS Directive (EU) 2015/863 (RoHS 3)
Products and Ordering
FAQ
Due to resource constraints on my computer, I'm unable to open the three dimensional CAD models provided on your website. Does Dataforth provide two demensional CAD models for download as well?
Two dimensional CAD models can be generated upon customer request. Please contact Customer Service for assistance.
What is the MTBF for DSCT32?
The MTBF for DSCT32 is 624,000 hours.
Does Dataforth have any options for thermistor input?
Thermistor interface has never been designed for SCM7B, 8B, DSCT, or MAQ20 product lines. However, we do have some custom products in the SCM5B line that can accept thermistor interface. Any SCM5B36, SCM7B36, 8B36, DSCA36, DSCT36 module with potentiometer input 0-10kohm may also be suitable for some sensors.
How does the load resistance of a module affect the noise at the output?
Noise at the output of a module is independent of load resistance.
Can Dataforth provide calibration reports for modules I purchased?
Yes we can provide calibration reports for the modules that you purchased.
You can either
a) visit https://www.dataforth.com/TestDataReport.aspx to search for Test Report Datasheets by Serial Number or
b) you can send us a list of model numbers and their serial numbers to support@dataforth.com
Do you have replacement terminal blocks for DSCA and DSCT modules?
Yes. Replacement terminal blocks are the following.
DSCAX-01 labeled 1 2 3 4.
DSCAX-02 labeled 5 6 7 8.
Keywords/Phrases: DSCA terminal blocks, replacement terminal blocks, DSCA replacement terminal blocks, DSCT terminal blocks, DSCT replacement terminal blocks
DSCAX-01 labeled 1 2 3 4.
DSCAX-02 labeled 5 6 7 8.
Keywords/Phrases: DSCA terminal blocks, replacement terminal blocks, DSCA replacement terminal blocks, DSCT terminal blocks, DSCT replacement terminal blocks
How do I mount and remove a DIN rail module?
To mount the module, do the following.
With the DIN rail mounted horizontally on a vertical panel, hang the hook at the top rear of the module over the top edge of the DIN rail.
Then rotate the module down so the bottom rear corner of the module touches the bottom edge of the DIN rail.
Then push on the bottom front corner of the module until you hear and feel a click. Push and pull the front of the module to ensure it is securely held on the DIN rail.
To remove the module, do the following.
Using a small screwdriver, insert it into the slot on the movable clip (red for DSCA & DSCT) under the bottom rear corner of the module.
Rotate the body of the screwdriver toward the body of the module until the movable clip disengages the bottom edge of the DIN rail and you can rotate the module upward.
Then you can unhook the module from the top edge of the DIN rail.
Keywords/Phrases: DSCA, DSCT, DIN rail module, mounting, removing
On DSCA’s, what are the zero and span adjusters physically?
The DSCA and DSCT zero and span adjustments are made using trimpots located under the front panel label and are non-interactive for ease of use. The trimpot screw heads are behind perforated circular knockouts labeled Ø and <->. The screw heads are slotted to accept a narrow flat blade screwdriver. The zero and span adjusters are 25Turn trimpots.
Keywords/Phrases: DSCA zero, DSCA span, DSCT zero, DSCT span, DSCA adjustment, DSCT adjustment, trimpots
Was this content helpful?
Thank you for your feedback!